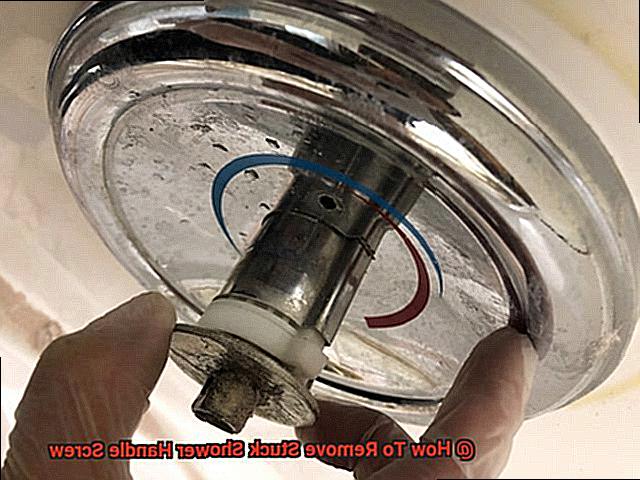
Are you in a bind trying to remove a stubborn screw that’s keeping your shower handle firmly in place? It’s frustrating, especially when you’re pressed for time and need to take a shower. But fret not, there are ways to loosen that pesky screw without damaging your shower handle.
First things first, let’s understand why the screw is stuck in the first place. Over time, screws can rust or corrode, making them difficult to budge. Alternatively, they may have been over-tightened during installation, causing them to seize up.
But don’t worry. There are several effective methods for removing a stuck shower handle screw. One popular technique is using penetrating oil to help loosen its grip. You could also try a rubber band or rubber gloves for better grip or use a screwdriver with an oversized handle for extra leverage.
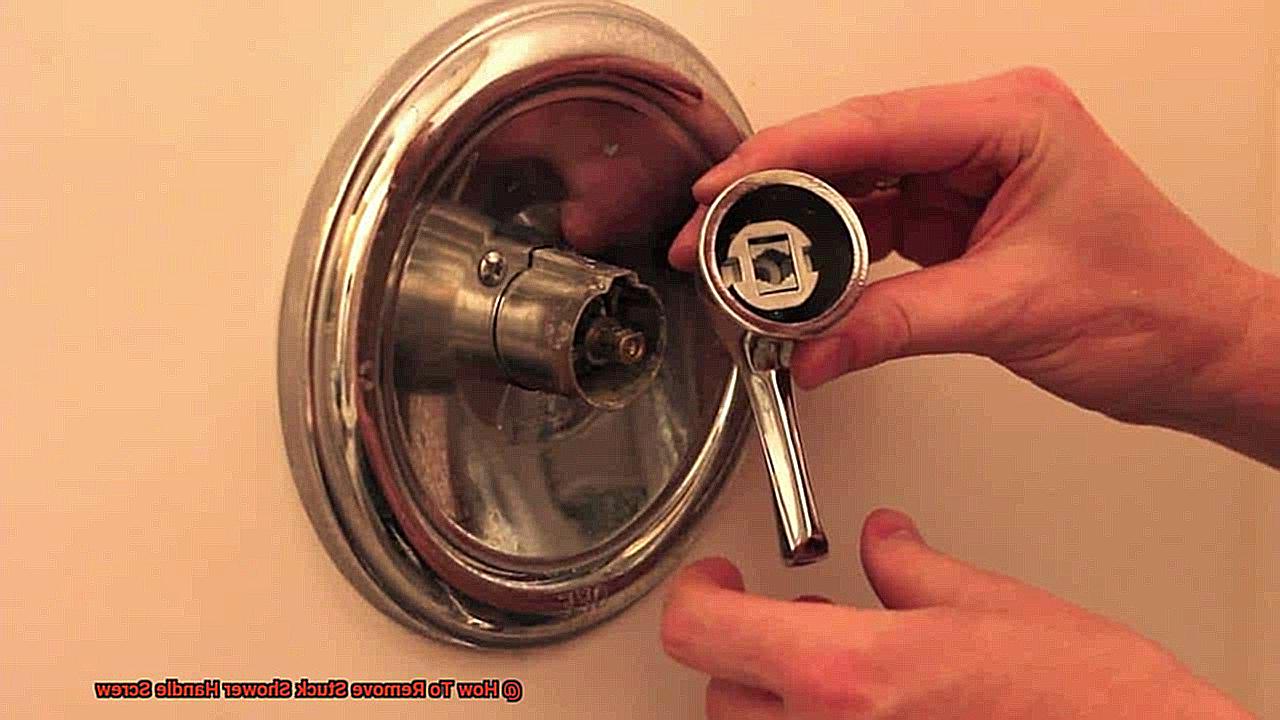
Another effective method involves using heat to expand the metal around the screw, making it easier to remove. However, be cautious not to overheat the metal and cause damage while using a hairdryer or heat gun.
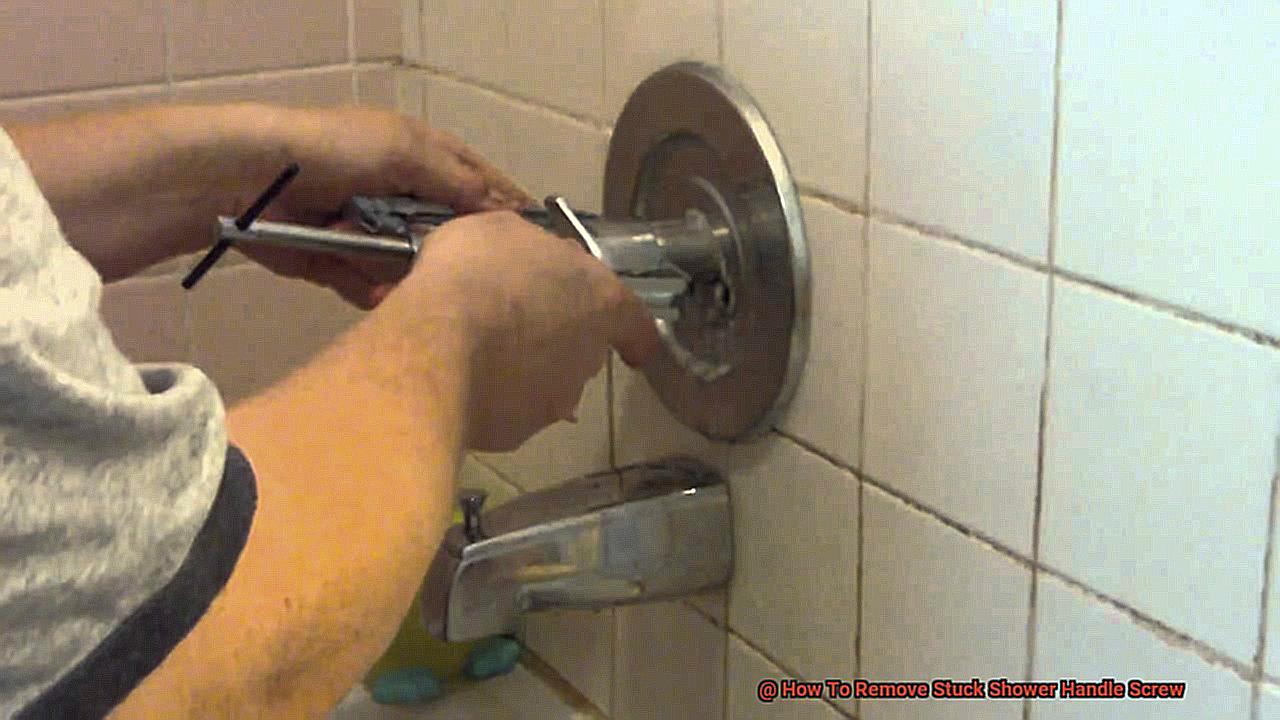
By following these simple steps and utilizing the right tools, you can successfully remove that stubborn shower handle screw and restore your shower’s working condition. So don’t give up hope – get ready to tackle that tricky screw and enjoy a refreshing shower once again.
Contents
Identifying the Type of Screw
Before you dive into trying to remove it, it’s important to first identify the type of screw you’re dealing with. Lucky for you, we’ve got all the tips and tricks you need to figure it out.
Shower handles typically use three types of screws: Phillips head screws, flathead screws, and hex screws. You can tell which type of screw is used by examining the head of the screw.
A Phillips head screw has a cross-shaped indentation on top, while a flathead screw has a single slot. A hex screw has a six-sided indentation on top, requiring a hex key for removal.
If you’re unsure about the type of screw, don’t worry. Check the owner’s manual or manufacturer’s website for your shower handle, which may provide information on the specific type of screw used and how to remove it. Alternatively, try using different screwdriver heads or hex keys until you find one that fits securely into the indentation on top. Remember to use the correct size and type of tool to avoid damaging the screw or handle.
Once you’ve identified the type of screw, it’s time to get to work. Gently turn the screw counterclockwise to see if it will loosen.
If it’s still stuck, try using a rubber band to improve your grip on the screwdriver or tapping the end of the screwdriver with a hammer. But be careful not to damage any surrounding fixtures or plumbing.
If these methods don’t work, try applying some lubricant such as WD-40 or another penetrating oil directly to the screw and let it sit for several minutes before attempting to turn it again.
You can still remove that pesky screw by using pliers or a wrench. Just be sure to grip the screw tightly and avoid forcing anything.
Gently Turning the Screw Counterclockwise
It can be tempting to use brute force to loosen it up, but this can actually cause more damage to the handle or strip the screw. That’s why we suggest gently turning the screw counterclockwise.
To get started, ensure that you have a screwdriver that is the correct size for the screw head. Insert the screwdriver into the head of the screw and apply gentle pressure while turning it counterclockwise. If it’s incredibly tight, you can use pliers or a wrench for extra leverage – but remember, don’t apply too much pressure.
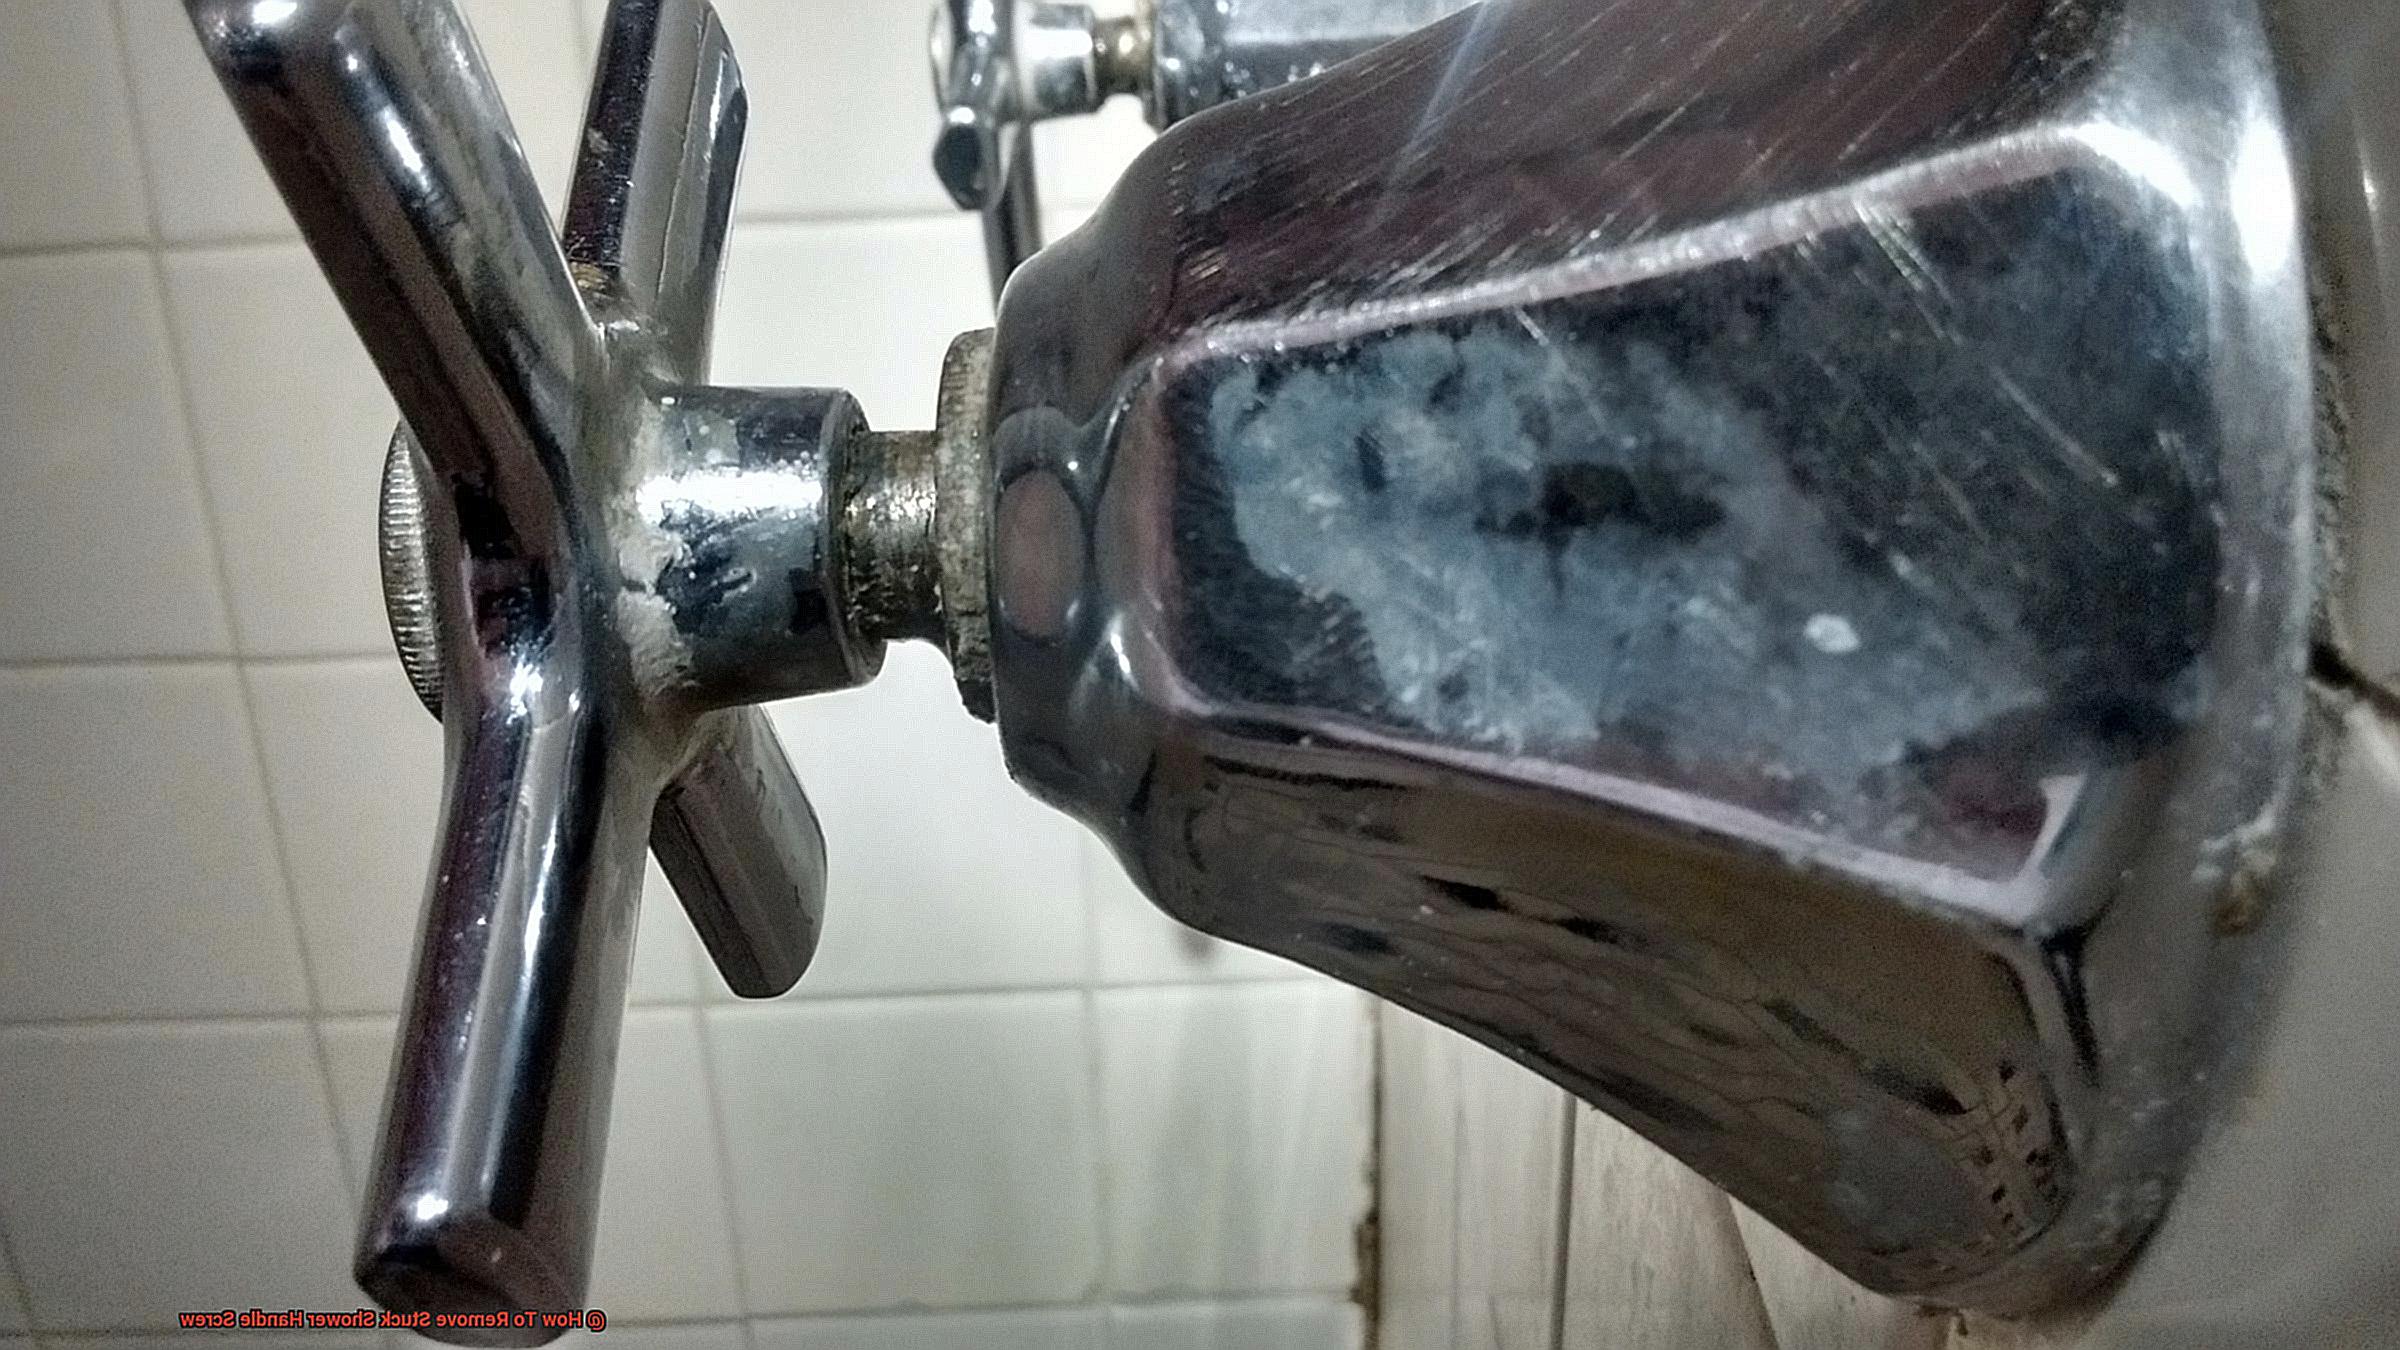
Patience is key when dealing with stuck screws. If it still won’t budge, try applying some penetrating oil or lubricant to the area around the screw. This helps to eliminate any rust or debris that may be preventing the screw from turning.
At this point, it’s best to call in a professional plumber who has specialized tools and techniques for dealing with these difficult plumbing issues.
Applying Extra Force to Loosen the Screw
One option for applying extra force is to use pliers or a wrench to grip the screw and turn it counterclockwise. But here’s the trick: use a cloth or rubber grip to provide better traction and prevent slipping.
Another option is to use a screwdriver and hammer to tap on the end of the screwdriver while turning it. This will help break up any rust or corrosion that may be causing the screw to stick.
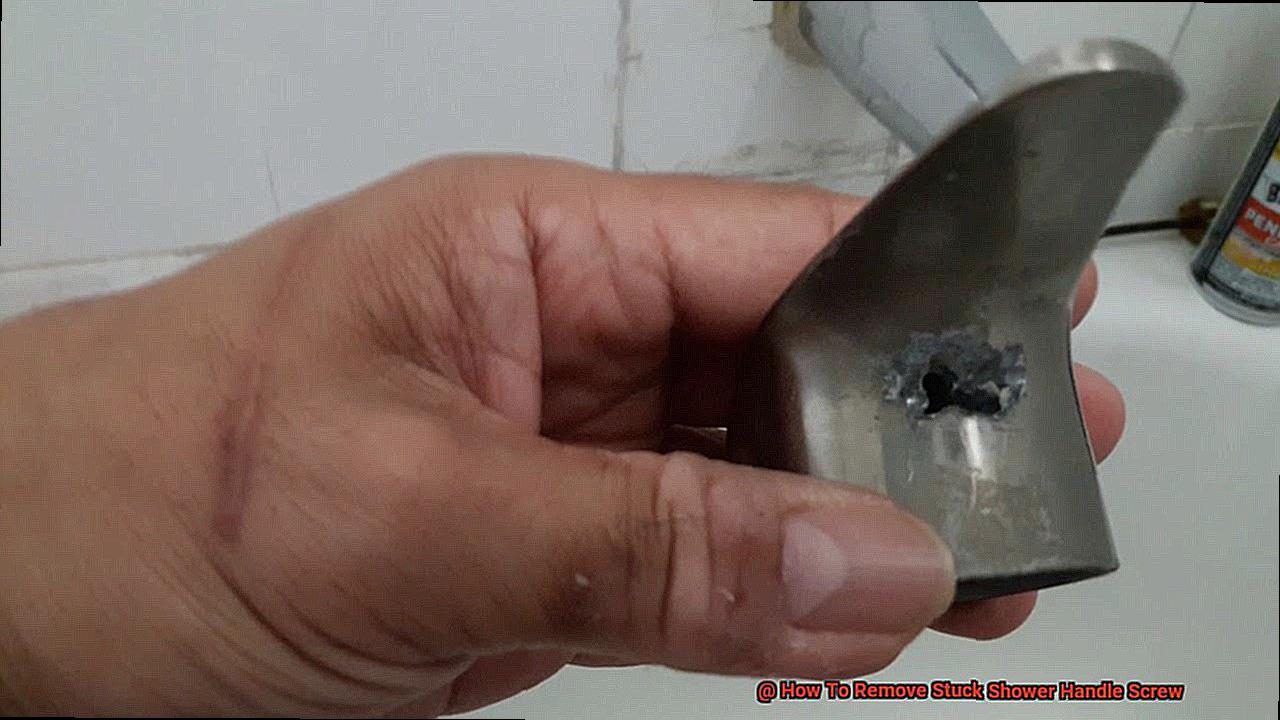
If these methods don’t work, it’s time to bring in the heat. You can apply heat to the screw using a hairdryer, heat gun, or even boiling water. The heat will cause the metal to expand and loosen any rust or corrosion that may be holding the screw in place. Once heated, try turning the screw again with pliers, a wrench, or screwdriver.
But remember: never use too much force. Applying too much pressure can cause serious damage to the shower handle or surrounding tiles. If you’re still struggling after trying these methods, it’s time to call in a professional plumber.
Using a Rubber Band or Hammer to Improve Grip
To use a rubber band, place it over the screw head and press down firmly with your screwdriver. The rubber band creates a barrier between the screw and the screwdriver, adding extra friction and increasing your grip. This technique is both simple and effective, saving you from frustration.
Alternatively, using a hammer can also improve your grip on the screwdriver. First, place the screwdriver tip into the screw head and hold it steady. Then, gently tap on the end of the screwdriver handle with a hammer. This drives the screwdriver further into the screw head, giving you more leverage and making it easier to turn the screw.
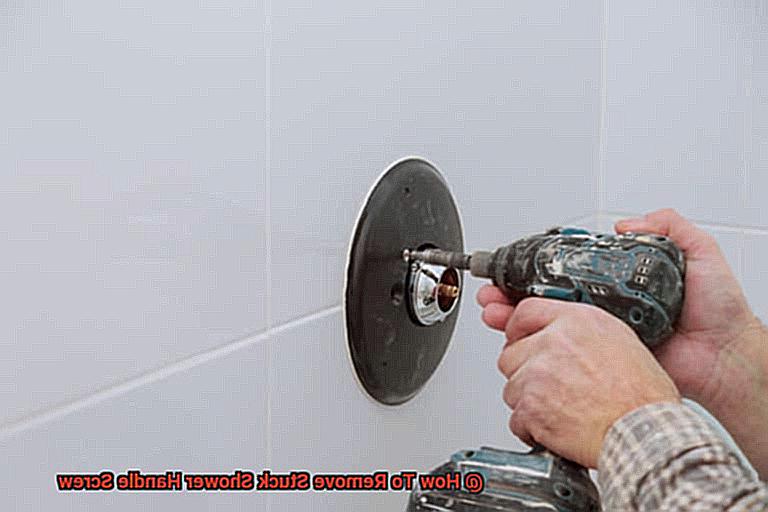
To avoid damaging the screw or surrounding area, use a high-quality screwdriver that fits snugly into the screw head. Apply pressure evenly to avoid stripping or rounding out the head. With patience and practice, these methods can be highly effective in removing stubborn shower handle screws.
Applying Lubricant to Help Loosen the Screw
Firstly, prepare the area by cleaning it with warm soapy water and a soft-bristled brush. This will remove any dirt or grime that could prevent the lubricant from penetrating the screw. Once clean, choose a suitable lubricant such as WD-40 or a silicone-based spray.
Next, apply the lubricant generously to the stuck screw and allow it to sit for a few minutes. The lubricant needs time to penetrate the screw threads, so be patient. If you’re in a hurry, try heating the screw with a hairdryer or heat gun to speed up the process.
After giving the lubricant some time to work its magic, use a screwdriver or wrench to turn the screw slowly and gently. Apply more pressure as needed, but be careful not to strip or break off the screw. If it still won’t budge, don’t give up. Repeat the lubrication process and try again.
It’s essential to note that not all lubricants are suitable for all materials. Some petroleum-based lubricants can damage rubber and plastic components. Always read the label on your chosen lubricant and follow any instructions or precautions listed.
Resorting to Pliers or Wrench for Gripping and Turning Off
Sometimes, loosening a stuck shower handle screw can be quite a challenge. When all else fails, you might need to resort to pliers or a wrench to get the job done. However, using these tools incorrectly can damage the handle or surrounding fixtures, so it’s essential to proceed with caution.
Before reaching for your pliers or wrench, ensure that your screwdriver’s tip fits snugly into the screw head to avoid stripping it. Once you’ve done this, you can move forward with using pliers or a wrench.
Using pliers is relatively simple. Place one jaw on the screw head and the other on the handle’s base, grip tightly and turn counterclockwise to loosen the screw. If you encounter resistance, apply some force, but be careful not to damage any of the fixtures.
Alternatively, you can use a wrench instead of pliers. Choose one that fits snugly around the base of the handle or the screw head. Turn counterclockwise with force as needed until the screw loosens up. However, be cautious not to cause any damage while using this method.
It is crucial to remember that using pliers or a wrench should always be your last resort. Using excessive force can damage the fixture or handle and lead to expensive repairs. Therefore, if these methods do not work, it is best to call in professional assistance.
Using pliers or a wrench can be an effective way to remove stubborn shower handle screws. But remember to take your time, apply force carefully, and call for professional assistance if needed.
b5TH_m2oris” >
Conclusion
In conclusion, removing a stuck shower handle screw can be an incredibly frustrating experience. However, with the right tools and techniques at your disposal, it doesn’t have to be. The first step is identifying the type of screw you’re dealing with and selecting the appropriate tool for removal. If that doesn’t do the trick, try using lubricant or heat to loosen things up. Applying too much force can also help dislodge it but proceed with caution as this method has its risks.
Other useful tips include using a rubber band or hammer for better grip and only resorting to pliers or wrenches as a last resort option. Always work slowly and patiently while applying pressure evenly without exerting excessive force.
By following these simple steps and utilizing the right tools at hand, you’ll successfully remove that stubborn shower handle screw without causing any damage whatsoever. Nevertheless, if all else fails, or you’re unsure about how to proceed, don’t hesitate to call in professional assistance.

